


Introduction
Decentralized applications (DApps) are at the forefront of innovation in the blockchain space, offering users increased control and privacy. However, managing wallets and accounts for DApps can be a challenging task.
Enter RainbowKit, a powerful toolkit designed to simplify DApp wallet management. In this guide, we'll explore how RainbowKit can help developers create seamless, user-friendly experiences for their DApp users and we will go over setting up a standard wallet connection in a frontend environment (ReactJs).
What is Rainbowkit?
Rainbowkit is an open-sourced library that provides developers with a set of tools and components to manage blockchain wallet interactions in DApps. It abstracts many of the complexities associated with wallet integration, making it easier for developers to focus on building the core functionality of their DApps.
Setting Up
We are going to be using a basic React template to implement this. You might have one set up already, or you could create one using Vite.
Let's say we have a basic project set up, a base app, with a wallet component rendered.
import React from "react"
import Wallet from "./Wallet.jsx"

const App =()=>{
    return (
        <div>
             <Wallet/>
        </div>
    )
}

export default App
Your Wallet.jsx Component:
import React from "react"

const Wallet = () => {
  return (
    <div>
      My Wallet
    </div>
  )
};

export default Wallet;
You could decide to style them further, if you wish. Now that we have the basic setup, let's begin with integrating Rainbowkit.
Step One: Install Rainbowkit
In the root of your project, run the command.
npm install @rainbow-me/rainbowkit wagmi viem
#or
yarn add @rainbow-me/rainbowkit wagmi viem
Step Two: Make your imports
We head to our App.jsx file and import what we need:
import '@rainbow-me/rainbowkit/styles.css';
import {
  getDefaultWallets,
  RainbowKitProvider,
} from '@rainbow-me/rainbowkit';
import { configureChains, createConfig, WagmiConfig } from 'wagmi';
import {
  mainnet,
  polygon,
  optimism,
  arbitrum,
  base,
  zora,
} from 'wagmi/chains';
import { alchemyProvider } from 'wagmi/providers/alchemy';
import { publicProvider } from 'wagmi/providers/public';
What are we doing? These are necessary imports made, which are needed in the wrapper.
Note: All of these imports are done in the base app, in our case, App.jsx
Step Three: Set up configurations
We have to initiate the library through some config statements, right under our imports statements.
const { chains, publicClient } = configureChains(
  [mainnet, polygon, optimism, arbitrum, base, zora],
  [
    alchemyProvider({ apiKey: process.env.ALCHEMY_ID  }), //
    publicProvider()
  ]
);

const { connectors } = getDefaultWallets({
  appName: 'My RainbowKit App',
  projectId: 'YOUR_PROJECT_ID', //paste your project ID
  chains
});

const wagmiConfig = createConfig({
  autoConnect: true,
  connectors,
  publicClient
})
process.env.ALCHEMY_ID is a variable, which its value is to be an API key. To get this, you have to sign in to Alchemy, create an application, and you would be given an API key to use for your project.
You can find the steps here
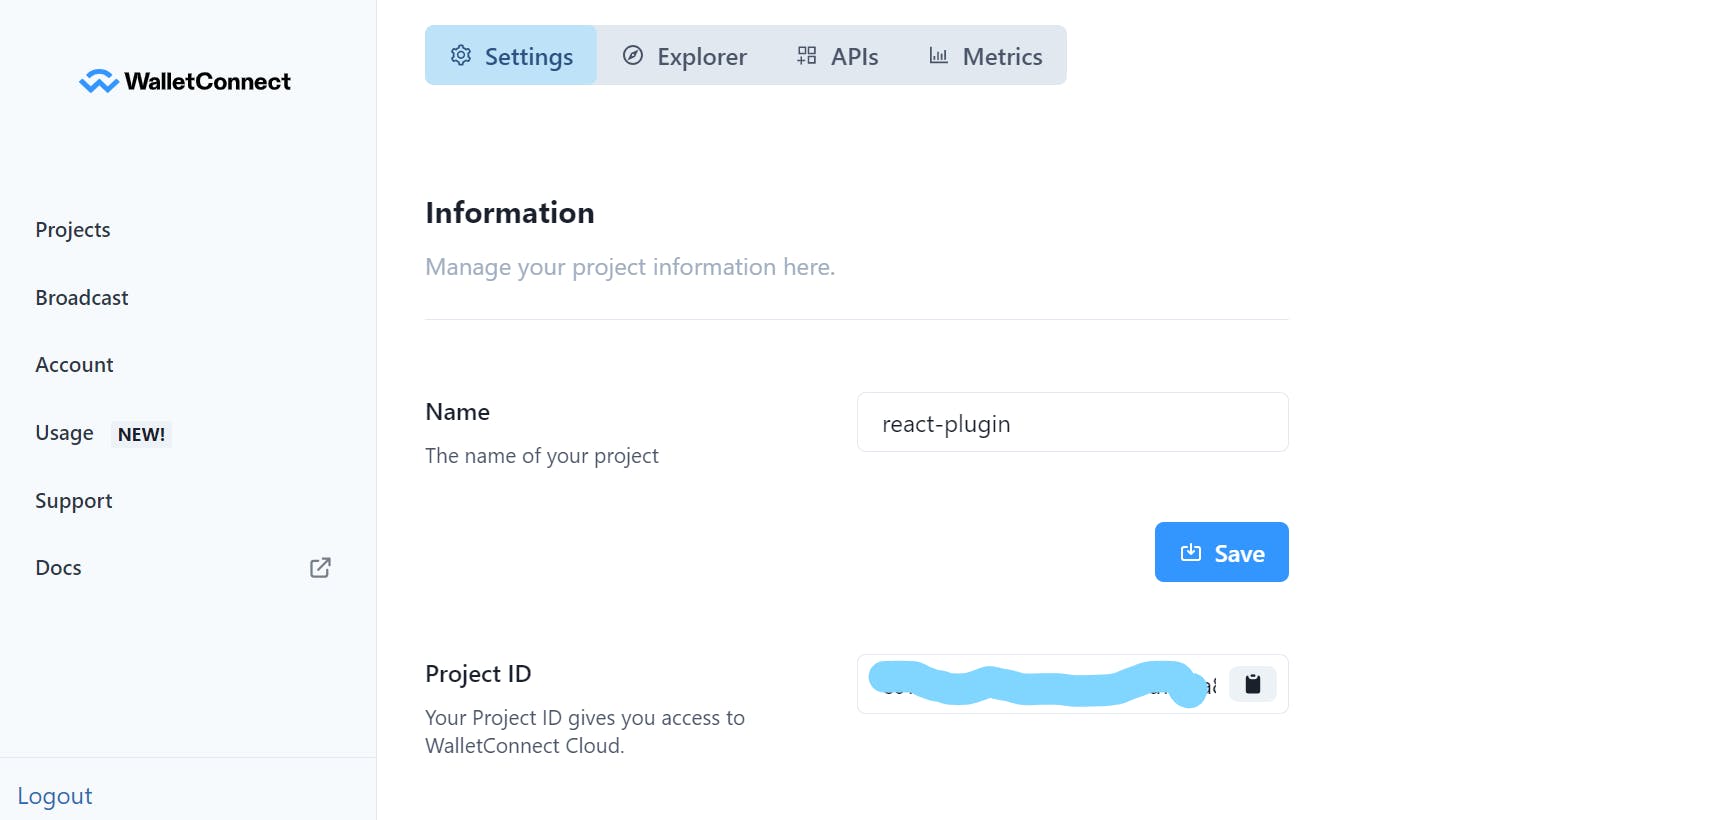
to get your projectId value, you sign up on Wallet Connect, create a new application, give it the name and description proceed. You'd be automatically given a projectID, which can be copied and used.
Step Four: Wrapping the Application
We'd be using the wrap providers, RainbowKitProvider and WagmiConfig to wrap our base app. This is very important.
const App = () => {
  return (
    <WagmiConfig config={wagmiConfig}>
      <RainbowKitProvider chains={chains}>
        <YourApp />
      </RainbowKitProvider>
    </WagmiConfig>
  );
};
Step Five:
Head to your wallet.jsx (this is where we choose to render the button), import the Connect Wallet from Rainbowkit and render it.
import React from "react"
import { ConnectButton } from "@rainbow-me/rainbowkit";

const Wallet = () => {
  return (
    <div>
      <ConnectButton/>
    </div>
  )
};

export default Wallet;
After this, RainbowKit would automatically set up your user's wallet selection, display wallet/transaction information, and handle network/wallet switching.
If done correctly, this is how it should look and work:
You could add some extra props to RainbowKitProvider and ConnectButton to style the modal further, and customize its appearance. You can check the official documentation for more props and config settings here.
Conclusion
The journey through this developer's guide has shed light on the powerful capabilities of RainbowKit for DApp wallet management. We've explored how RainbowKit simplifies the integration process, enhances security, and provides a seamless experience for both developers and end-users.
By adopting RainbowKit, developers can unlock the potential to create secure, efficient, and user-friendly DApps that meet the demands of today's blockchain landscape. From streamlined wallet integration to robust security features, RainbowKit empowers developers to craft exceptional blockchain solutions.
So, embrace RainbowKit, explore its possibilities, and contribute to the ever-expanding universe of blockchain applications.
Happy Coding!!