


Most times we as developers might be applying for a role or so, or maybe you have a bug on your code and you want to create an issue or share your code with others to help figure out and maybe that repo you want people to look at is private, well there is a way to work it out without changing your repo from private to public.

Introducing github gist which helps you take a sample block of code and share to your github friends and even outside whether public or secret.This, particularly I find really useful for private repos.
STEP 1
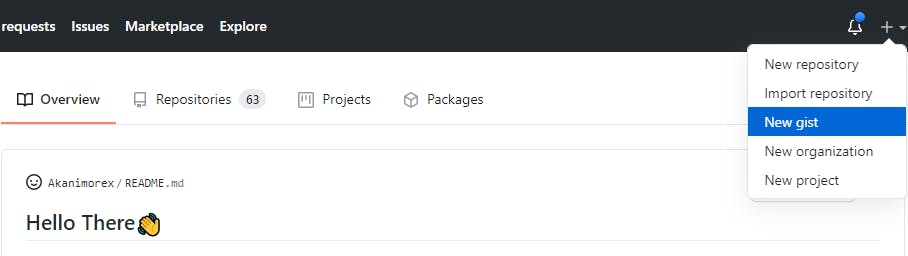
Okay so firstly you can go straight here or on your github profile view , go to your top right and click the “+” button, you should see a dropdown that shows, among other things ,New gist. Click that.
STEP 2
you get to a page that shows your gist description, you get to also fill in the file name with its extension with few editor space settings.
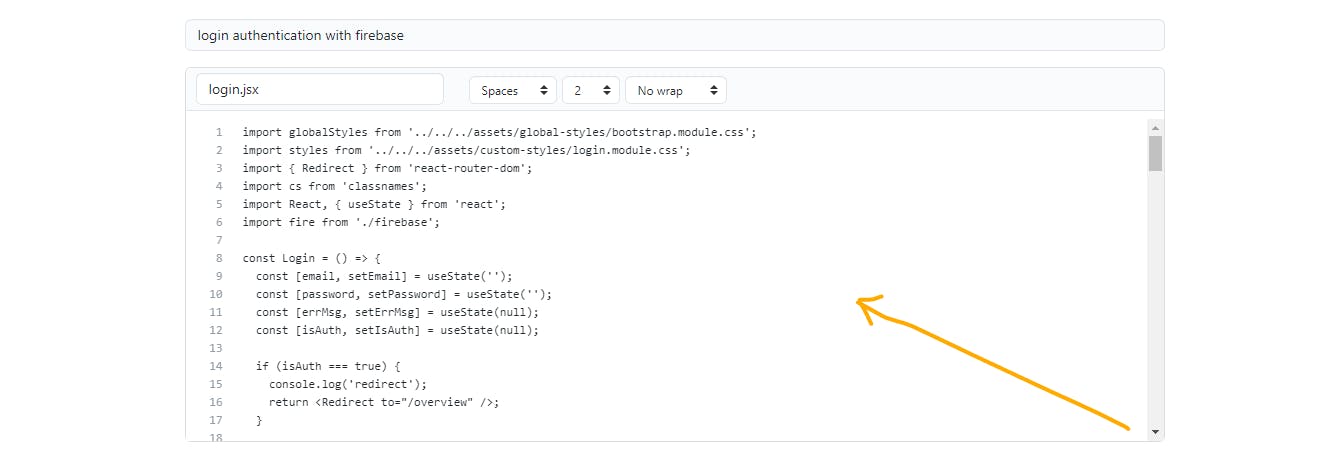
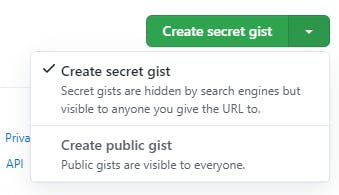
In the section of the arrow, you copy the block of code you want to be reviewed and paste there. When you're done you go to the green button just below and select the option of secret gist or public gist . If your repo is private, select secret gist.
STEP 3
After publishing it, you get the option to either embed it as a html ,share or clone the file.You choose the one you prefer as the case may be. In my case , I will use share.
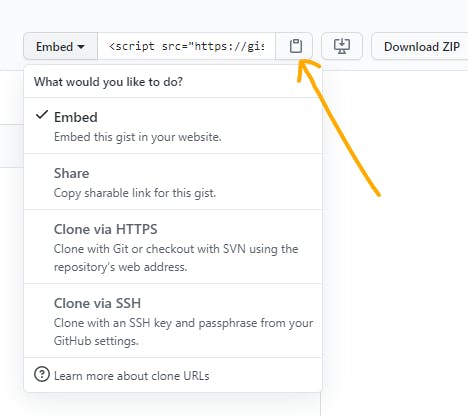
This displays a url that you can copy and paste anywhere you want so people can find their way to the gist if you want them to. As a secret gist, it doesn't show up when others search for it except you give them the url.This maintains the privacy oF your repo just as you want it, no fuss!
That's it, you're done!!
I hope this bit of information helps. Ciao!